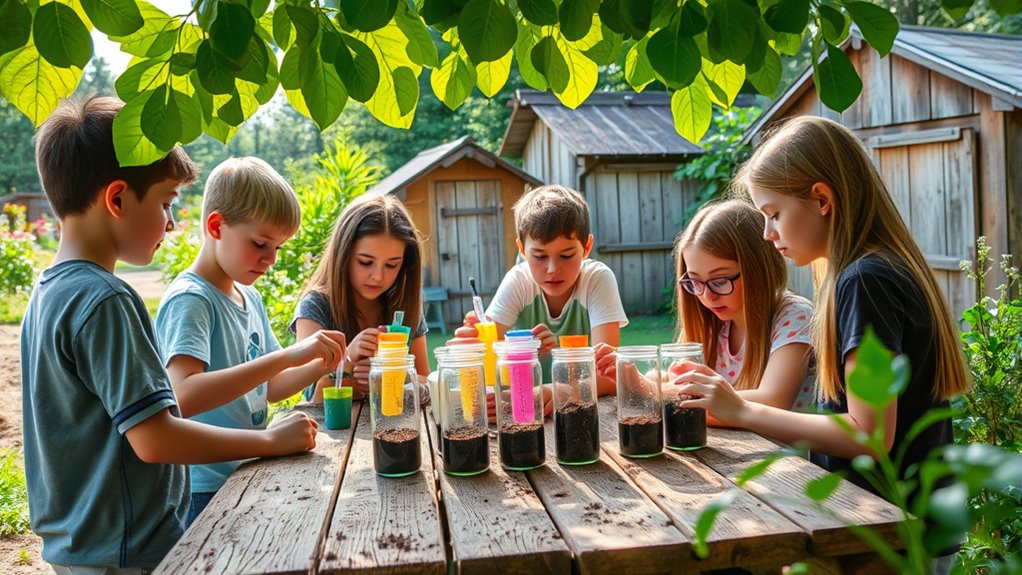
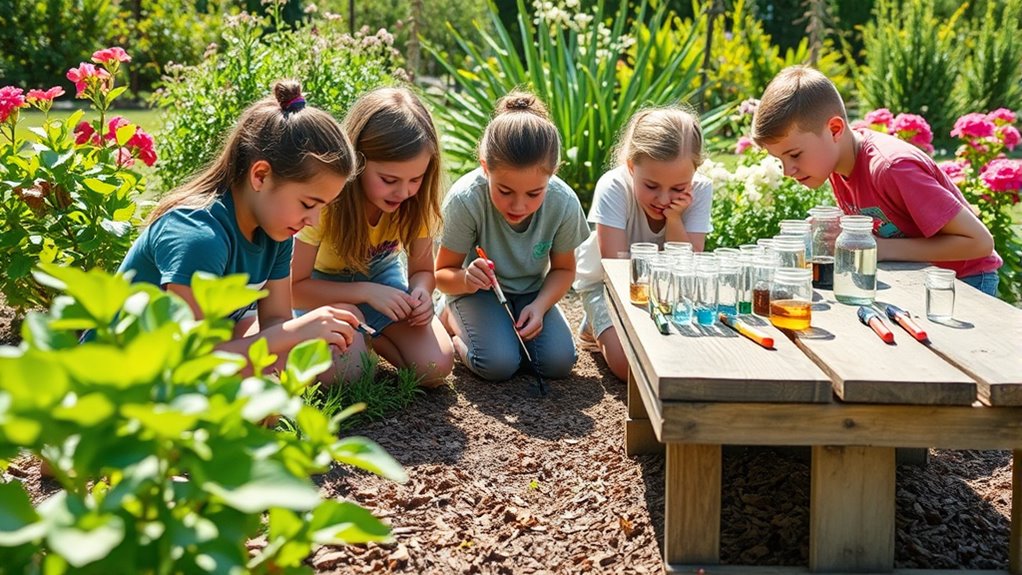
To run student-led soil testing labs in your garden, you’ll guide students through planning, gathering tools like pH meters and test kits, and collecting soil samples from various spots. They’ll learn how to analyze pH and nutrient levels, interpret results, and understand how soil health impacts plant growth. Incorporating sustainable practices, discussions, and reflections helps deepen their understanding. Continue exploring to discover effective ways to make soil testing engaging and informative for young gardeners.
Key Takeaways
- Students select and prepare soil testing kits, collect samples from various garden spots, and perform pH and nutrient tests independently.
- Students analyze test results, interpret soil health, and recommend amendments to improve soil quality and plant growth.
- Labs incorporate hands-on activities like observing color changes, using pH meters, and recording environmental factors affecting results.
- Students collaborate to discuss findings, reflect on sustainable practices, and plan future soil management strategies.
- The project emphasizes environmental awareness, organic methods, and data-driven decision-making for maintaining healthy garden soil.

LED Desk Lamp for Home Office - 24W Eye-Caring Architect Clamp Light for Dual Monitors, Bright Task Light with USB Port, Touch Dimming, 5 Colors & 50 Modes, Flexible Gooseneck for Read, Study, Craft
【Ultra-Wide Lighting & Eye Protection】 The AUSDOM dual-head LED desk lamp features 24W high-density LED beads and a...
As an affiliate, we earn on qualifying purchases.
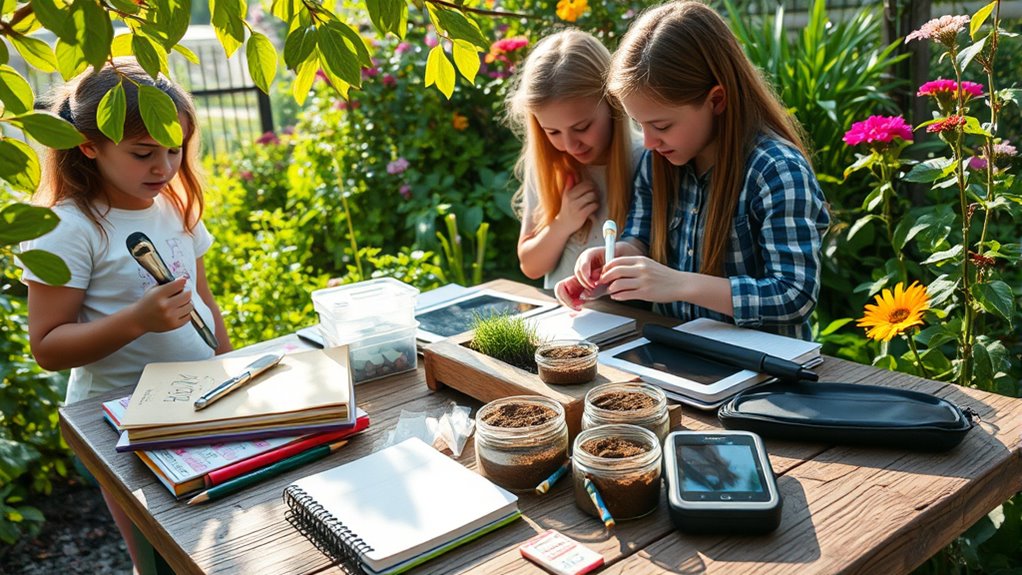
Planning and Preparing the Soil Testing Activity
Before starting the soil testing activity, it is vital to plan and prepare carefully. Begin by choosing the right testing kits that measure soil acidity and nutrient balance. Gather all necessary tools, such as gloves, containers, and pH meters, to guarantee accurate results. Consider the specific needs of your garden—if the soil is too acidic or alkaline, it can affect plant growth. Testing multiple spots in your garden helps identify variations in soil conditions. Make a checklist to make sure you don’t forget any supplies. Clear instructions should be provided to students, emphasizing safety and proper handling of testing materials. Proper planning ensures reliable results, making it easier to interpret soil health and plan suitable amendments. Incorporating AI Security technologies can also help protect sensitive data collected during testing activities. Understanding sound design techniques can enhance the presentation of your findings through engaging audio-visual materials, making the results more accessible and memorable. Additionally, considering remote work strategies can facilitate collaboration and data sharing among students and educators, even if some participants are working remotely. Planning for proper storage of soil samples and data collection methods can further improve the accuracy and integrity of the testing process.

ONEMIX 42" LED Desk Lamp with Clamp, Architect Desk Light with Remote, Adjustable 4-Segment Bar, 1800LM Bright, Eye-Caring Desk Lamp for Home Office, Reading, Study, Dual Monitors, Workbench(Black)
Ultra-Wide & Super-Bright Light Bar: This 42-inch LED desk lamp features a 4-segment architect-style light bar with independently...
As an affiliate, we earn on qualifying purchases.
Introducing Students to Soil Testing Methods
Once the preparations are complete, it’s time to introduce students to the various soil testing methods. Start by explaining how soil chemistry affects plant growth and why understanding nutrient balance is essential. Demonstrate simple tests, such as pH testing, to show how acidity or alkalinity influences soil health. Discuss laboratory techniques used to analyze nutrient levels and how they reveal deficiencies or excesses. Emphasize that soil testing helps farmers and gardeners optimize fertilization and improve crop yields. Engage students by asking them to observe color changes or reactions during tests, fostering curiosity about soil properties. Explain how soil testing methods provide accurate data that guide effective soil management practices. Additionally, highlighting the role of air quality in plant health can deepen students’ understanding of environmental factors affecting soil ecosystems. Understanding soil chemistry is crucial for comprehending how different soil components interact and influence plant growth. Recognizing the importance of soil testing accuracy ensures that the data collected leads to effective decision-making. Incorporating soil analysis techniques can help students better grasp the complex interactions within soil systems. By understanding these methods, students gain insight into the importance of soil chemistry and learn how to assess soil quality effectively.

ACNCTOP Desk Lamp for Office Home - Eye-Caring Architect Task Lamp 25 Lighting Modes Adjustable LED Desk Lamp Flexible Gooseneck Clamp Light for Workbench Drafting Reading Study
25 Light Modes: The LED desk lamp can easily switch between 5 brightness and 5 color tempers (3200K-6500K)...
As an affiliate, we earn on qualifying purchases.
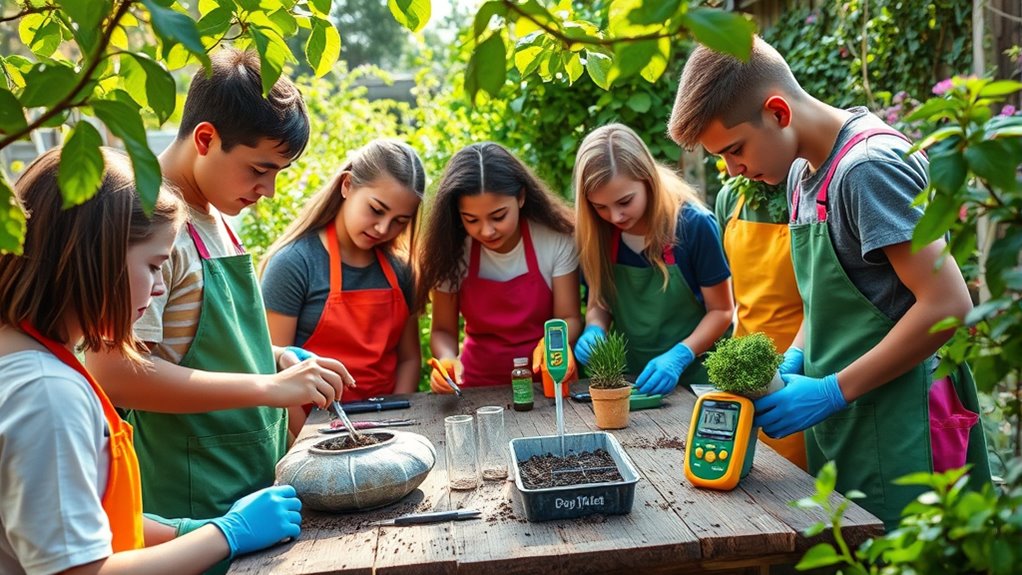
Gathering Necessary Tools and Materials
To get started, you’ll need to gather essential testing equipment like soil test kits, containers, and gloves. Make sure you also have a plan for collecting soil samples properly to guarantee accurate results. Having the right tools ready will make the testing process smoother and more effective. Additionally, understanding color accuracy in projectors can inspire creative ways to set up your testing environment and make the process more engaging. Being aware of local resources and tools can also help you access expert advice or additional supplies if needed. Knowing how to interpret nutritional insights from apple juice can further enhance your understanding of soil health and plant growth requirements, especially when considering state tax implications for any related funding or supplies.
Subheading 1: Essential Testing Equipment
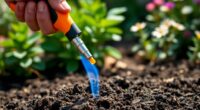
Gathering the right testing equipment is a crucial first step in conducting accurate soil analysis. To evaluate soil pH and nutrient balance effectively, you need specific tools. First, a soil test kit with pH and nutrient indicators helps you determine acidity and nutrient levels. Second, a clean sampling container or bag ensures you collect representative samples without contamination. Third, a pH meter or test strips provide precise readings of soil acidity or alkalinity. These tools allow you to assess whether your soil needs amendments to optimize plant growth. Make sure your equipment is clean and functioning properly to get reliable results. Also, understanding the soil testing process can improve your measurement accuracy and efficiency. Incorporating knowledge of farmhouse bedroom decor elements can inspire a comfortable and inviting environment in your gardening space as well. With the right tools, you’ll be well-equipped to understand your soil’s health and make informed gardening decisions.
Subheading 2: Collecting Soil Samples
Before collecting soil samples, you need to gather the right tools and materials to guarantee accurate analysis. Use clean, labeled containers or plastic bags to prevent soil contamination and maintain testing accuracy. A trowel or soil auger helps you extract samples from different spots in the garden, ensuring representative results. Wear gloves to avoid introducing contaminants from your hands. It’s best to take multiple samples from various locations and depths, then mix them thoroughly in a clean container. This assures a thorough view of your soil’s condition. Proper sampling techniques reduce the risk of soil contamination and improve testing accuracy, giving you reliable data to assess nutrient levels, pH, and potential issues in your garden soil. Additionally, choosing the right sampling method can significantly improve the reliability of your test results. Using soil testing guidelines ensures that your samples are collected consistently and accurately, leading to better-informed gardening decisions.

LED Desk Lamp with USB Ports,Touch Desk Lamps for Home Office with 5 Color Modes,3 Brightness Desk Light with Small Night Light,Reading Lamp Table Lamp for Bedroom Bedside Study Black (with adapter)
【TOUCH CONTROL DIMMABLE DESK LAMP】 the LED desk light has 5 light colors and 3 brightness levels. You...
As an affiliate, we earn on qualifying purchases.
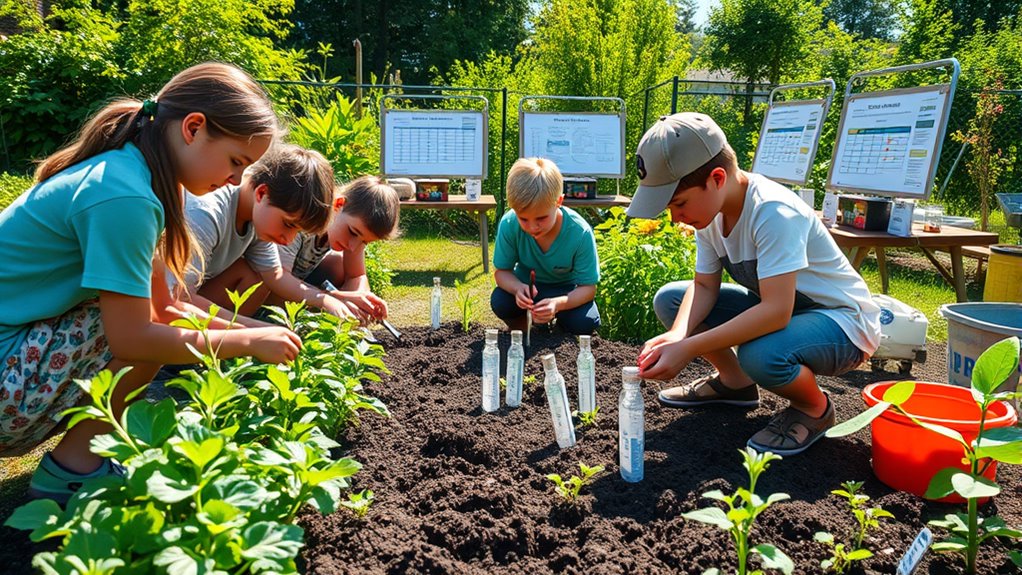
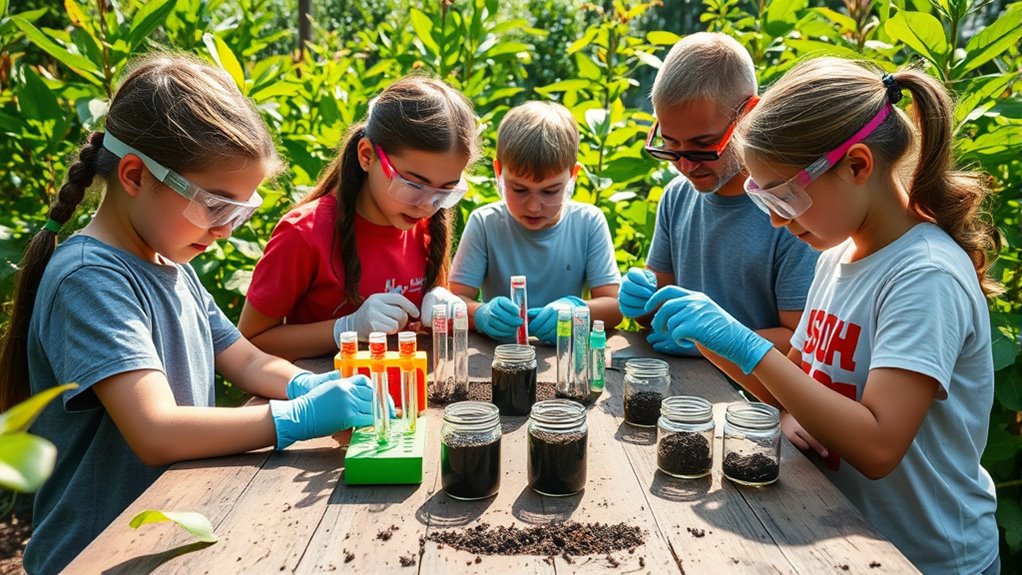
Conducting Soil Tests in the Garden
Conducting soil tests in your garden is a straightforward way to understand its nutrient levels and pH balance. When testing, consider soil mineralogy, which influences nutrient availability, and pH levels that affect plant growth. You can use simple test kits or send samples to a lab for detailed analysis. To guarantee accurate results:
- Collect samples from multiple spots for representative testing
- Mix samples thoroughly before testing
- Follow instructions precisely for pH adjustment if needed
Understanding your soil’s mineralogy helps determine which amendments to add, like lime or sulfur, to correct pH levels. Additionally, incorporating knowledge about sound vibrations can offer insights into how environmental factors influence soil health. Regular testing empowers you to make informed decisions, optimizing plant health and growth. Soil testing is an essential step toward a thriving garden.
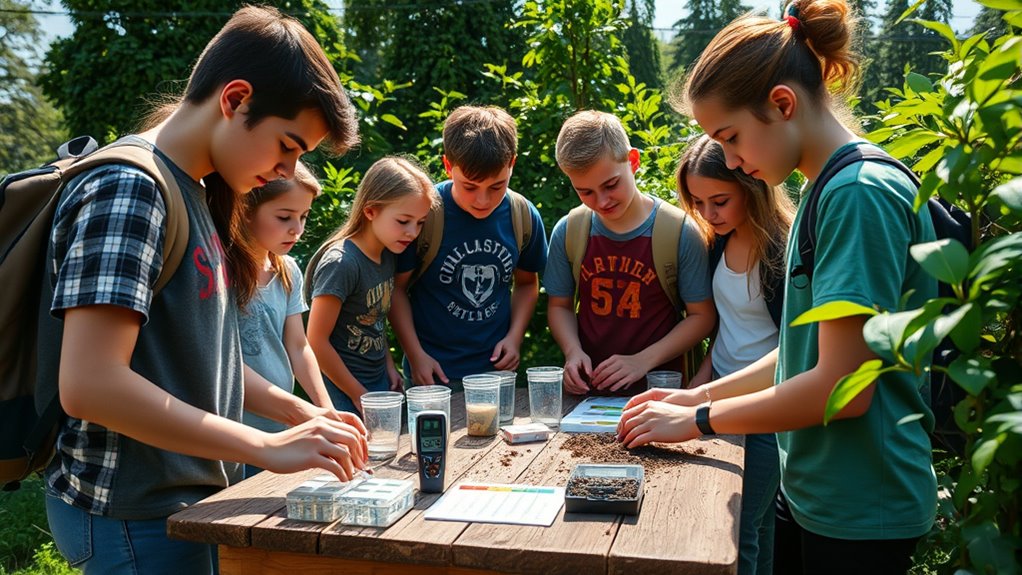
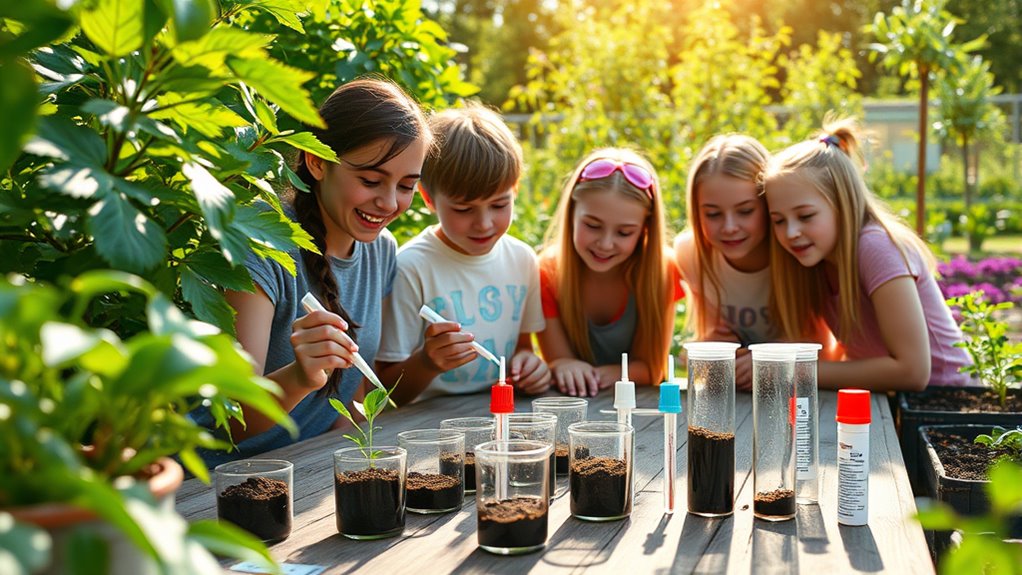
Analyzing and Interpreting Soil Test Results
Once you’ve collected and tested your soil samples, the next step is to analyze and interpret the results to make informed gardening decisions. Focus on soil nutrient analysis to identify which nutrients are plentiful and which are lacking. This helps determine if you need to add fertilizers or organic amendments. Additionally, review the pH level interpretation to understand your soil’s acidity or alkalinity. Most plants thrive within specific pH ranges, so adjusting soil pH can improve nutrient availability. Carefully compare your test results to recommended levels for your garden crops. By understanding these key factors, you can tailor your soil management practices effectively, ensuring healthier plants and better yields. Remember, accurate interpretation is essential for making beneficial adjustments in your garden.
Discussing the Implications for Garden Health and Sustainability
By understanding soil test results, you can improve soil quality and make smarter decisions for your garden. Sustainable practices become easier when you know what nutrients your soil needs and how to maintain its health. Empowering students to interpret these results encourages ongoing engagement and responsible garden stewardship.
Enhancing Soil Quality
Enhancing soil quality is essential for ensuring your garden remains healthy and productive over time. Improving soil organic matter boosts nutrients and water retention, creating a better environment for plants. Adjusting soil pH ensures nutrients are available and prevents deficiencies that hinder growth. To enhance your soil, consider adding compost or organic amendments to increase organic matter. Regular testing helps you identify pH imbalances, allowing for precise pH adjustment with natural materials like lime or sulfur. By focusing on these factors, you promote a vibrant, sustainable garden. Remember, healthy soil supports strong plants, reduces the need for chemical inputs, and contributes to long-term garden success.
- Increase soil organic matter through compost
- Regularly test and adjust soil pH
- Use organic amendments for nutrient balance
Promoting Sustainable Practices
Implementing sustainable practices in your garden not only protects the environment but also guarantees long-term health and productivity. By focusing on soil health, you help maintain a balanced ecosystem that supports plant growth and resilience. Techniques like composting, mulching, and crop rotation reduce the need for chemical inputs, lowering the environmental impact of your gardening efforts. When you prioritize sustainable methods, you prevent soil degradation and preserve essential nutrients, ensuring the land remains fertile for future seasons. These practices foster a healthier garden that resists pests and diseases naturally. Ultimately, promoting sustainability in your gardening routine benefits both your plants and the planet, creating a cycle of growth that sustains itself while minimizing harm to the environment.
Empowering Student Engagement
Empowering students to lead soil testing labs fosters a deeper understanding of garden health and sustainability. When students take charge, they become more invested in maintaining soil health and recognizing its impact on the environment. This active engagement encourages critical thinking about how soil quality influences plant growth and the broader ecological footprint. By understanding soil composition, students can make better decisions that promote sustainability and reduce negative environmental impact. You can inspire a sense of responsibility that extends beyond the classroom, fostering lifelong habits of environmental stewardship.
- Develop decision-making skills that improve soil management practices
- Increase awareness of how soil health affects overall ecosystem stability
- Encourage sustainable habits that minimize environmental impact
Reflecting on the Experience and Sharing Findings

After completing the soil testing labs, it’s important to reflect on what you’ve learned and how the experience went. Think about how the tests revealed different aspects of soil quality and what that means for your garden. Did you notice changes or surprises in the results? Sharing your findings helps solidify your understanding and builds your student confidence. Discuss the methods you used and what you discovered about your soil’s health. Reflecting also encourages critical thinking and problem-solving, essential skills for future gardening projects. By talking about your experience, you help others learn from your insights and foster a sense of achievement. This step ensures your learning is meaningful and prepares you for more advanced soil and garden management.
Extending Learning Through Follow-Up Projects
Building on your soil testing experience, you can expand your understanding by designing follow-up projects that apply what you’ve learned. These projects help deepen your knowledge of soil nutrient management and composting techniques. For example, you might experiment with different composting methods to improve soil health or test how various amendments affect nutrient levels. Engaging in these activities encourages hands-on learning and critical thinking. Consider these ideas to extend your learning:
- Create a composting system tailored to your garden’s needs
- Test soil before and after applying various organic amendments
- Develop a plan for sustainable soil nutrient management throughout the season
These projects empower you to make informed decisions about maintaining healthy soil and supporting plant growth.
Frequently Asked Questions
How Can Students Ensure Safety During Soil Sample Collection?
To guarantee safety during soil sample collection, you should always wear personal protective equipment like gloves and masks to prevent contact with contaminants. Handle samples properly by using clean tools and containers to avoid cross-contamination. Be cautious of sharp objects or debris in the soil, and wash your hands thoroughly afterward. Following these steps helps protect you and ensures accurate test results during soil testing activities.
What Are Common Mistakes to Avoid in Soil Testing?
You might think testing soil is straightforward, but overlooking common mistakes can skew results. Avoid rushing the process, as improper sampling can lead to inaccurate soil pH readings or nutrient imbalance detection. Make certain samples are representative and well-mixed, and don’t forget to follow testing instructions closely. Confirm that equipment is clean to prevent contamination, which could distort your data and hinder accurate assessment of soil health.
How Often Should Soil Testing Be Repeated for Accurate Monitoring?
You should perform soil testing regularly to guarantee monitoring accuracy. Typically, testing every 1 to 3 years is sufficient, but factors like crop growth, soil changes, and fertilizer use may require more frequent checks. By maintaining a consistent soil testing frequency, you can better track nutrient levels and soil health, making informed decisions for your garden’s productivity. Stay proactive to keep your soil in ideal condition.
Can Soil Testing Be Adapted for Different Types of Gardens?
You can definitely adapt soil testing for different types of gardens by considering garden soil diversity. Different plants thrive in varied soil conditions, so you should tailor testing method adaptations accordingly. For example, a vegetable garden may require more frequent testing than a flower bed. Adjust your testing approach based on soil type, plant needs, and garden size to get the most accurate results and ideal soil health.
What Are Cost-Effective Options for Soil Testing Materials?
Back in the day, folks relied on simple methods, and today, you can still find cost-effective options. For DIY testing, affordable kits are your best bet—they’re easy to use, portable, and quite reliable for basic soil health insights. You won’t need to break the bank to get accurate results, and these kits help you learn more about your garden’s needs without expensive lab tests.
Conclusion
As you close the soil testing chapter, remember that each sample is a seed of understanding planted in young minds. Like the roots that anchor a thriving garden, your guidance nurtures curiosity and stewardship. The insights gained become the fertile ground for future growth, inspiring students to cultivate not just healthier gardens, but also a deeper connection to the earth. Through their hands and hearts, you’ve sown the seeds of sustainable stewardship that will flourish beyond the garden.